To Create a New Document by Saving the Current AutoCAD Document as Another File Type
-
Select one of the following
Ribbon:
Command: DMSEXPORT
Menu:
If the current document is not stored in ProjectWise, then the dialog that opens next (Save Document As dialog, Advanced Document Creation Wizard, or Select a Wizard dialog) depends on whether or not you have a default method set for creating documents in ProjectWise. If the current document is stored in ProjectWise, then the Save Document As dialog always opens here.
-
Do one of the following:
If the Select a Wizard dialog opens, select either No Wizard or Advanced Wizard and click OK, then follow the instructions in the appropriate option below. (If you select No Wizard, the Save Document As dialog opens. If you select Advanced Wizard, the Advanced Document Creation Wizard opens.)
or
If the Advanced Document Creation Wizard opens, click Next. When the Select Target Folder page opens, select the folder to store the new document in and click Next. On the Document Properties page, enter the name, description, file name, and version of the new document and click Next. On the Create a Document page, click Next. On the final page, click Finish. You are done.
or
If the Save Document As dialog opens, continue with the next step.
- In the Folder section:
- For the check box next to the Document Name field:
-
Edit the
Name,
Description and
File Name fields as needed.
A description for the document is optional, but the document must have a name and a file name, and both the (document) name and file name must be unique in the folder or work area in which you select to store the document.
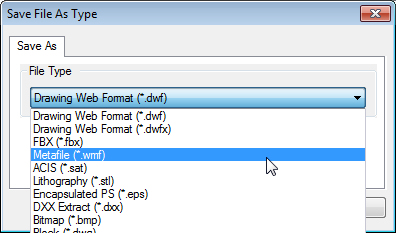
- Click Format, select a format from the Save File As Type dialog and click OK.
- (Optional) Assign a ProjectWise application and department to this document from the respective Application and Department lists. You can also set either property to <none> if you do not need them.
- Click Save.
-
Do one of the following:
If comments are neither required nor optional for checking in documents, then at this point the exported document is created in the selected folder or project, and has a status of checked in. You are done.
or
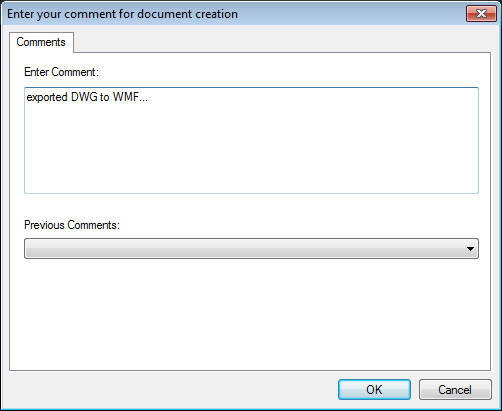
If comments are either required or optional for checking in documents, then a Comments dialog opens. Enter comments in the Comments tab, or select a previous comment from the list, then click OK. The exported document is created in the selected folder or project, and has a status of checked in.
Note: There is nothing in the Comments dialog that visually indicates whether a comment is optional or required. If comments are optional, then you can click OK without entering comments. If comments are required and you click OK without entering any comments, you will not be able to proceed with the export until you enter comments. If you click Cancel in the Comments dialog, the export operation will be canceled and the AutoCAD document will not be exported to selected format.